
It's that time of year! My strawberries are finally ready to go and only a month late. But this is certainly a better-late-than-never situation. My little one eats her weight in peanut butter and jelly through out the year (she might eat her daddy's weight too). So I make lots of strawberry jam for her PB&Js.
The strawberries we grow ourselves in a lower and upper bed. This year each bed is producing well but the lower bed is out pacing the upper bed. I tried making Strawberry Rocks this year to help cut down on the chipmunk nibbling. Click here to see my strawberry rock post. And it actually worked! There still is some nibbling but nothing like the damage done last year. So I heartily recommend the strawberry rock approach.

Whether you grow your own, pick your own, buy store bought fresh or frozen, you are going to need between 10 to 12 cups of washed strawberries.
 |
| Washed and ready to can |
For fresh strawberries you need to remove the stem and inner core. You can buy a fancy strawberry huller gadget, or use a pairing knife, but I just use my thumbnail. I dig into the top of the strawberry with my thumbnail and gouge out the stem and core; not pretty but very effective. I also remove any bad spots that I do not want to make it into my jam.
 |
| Half way hulled |
 |
| Ready to crush (or mash) |
 |
| Crushing the strawberries with a potato masher |
You want to end up with about 8 cups crushed hulled strawberries. You do not need to obliterate the strawberries in this step. They will do that themselves in the cooking process.
Next put your strawberries in a non-reactive pan. Strawberries are rather acidic so you don't want to introduce odd flavors into the jam by making an unfortunate pan choice. Into the pan with the 8 cups of crushed strawberries add 6 cups of sugar. Remember we are essentially making a dessert here. Stir it all together and you will get a mixture that looks like this.

If you noticed, I did not act pectin to my jam. You can add pectin to make the jam set faster and have a thicker consistency. Instead I add a lot of slightly underripe strawberries which have a higher pectin concentration than the fully ripe strawberries (the recipes I have seen recommend using about 1/3 underripe strawberries). I had to cook my strawberries for about an hour and a half to get them to gel stage.
 |
| Cooked to gel stage |
1. Temperature Test Cook the soft spread until it reaches a temperature of 220°F, or 8°F above the boiling point of water. Measure the temperature of soft spreads with a candy or jelly thermometer. Always insert the thermometer vertically into the soft spread and ensure that it does not contact the surface of the pot.
2. Sheet Test Dip a cold metal spoon into the boiling soft spread. Lift the spoon and hold it horizontally with edge down so that the syrup runs off the edge. As the mixture cooks, the drops will become heavier and will drop off the spoon separately but two at a time. When the two drops join together and “sheet” off the spoon, the gel stage haven reached.
3. Refrigerator Test Chill two or three small saucers in the freezer. Place a teaspoonful of soft spread on the chilled saucer and place in the freezer for 1 minute. Remove the saucer from the freezer and push the edge of the spread with your finger. A mixture that has reached the gel stage will be set, and the surface will wrinkle when the edge is pushed. Note: To prevent overcooking or scorching, remove the soft spread from the heat before performing this test.
If the test you performed shows that the gel stage has not been reached, return the mixture to the heat to cook for a few minutes longer, then retest the soft spread.
Once your jam has reached the gel stage you are ready to store the jam. I choose to can my jam for long term storage (at least a year). Excellent instructions for beginning canning can again be found here again from the good folks at Ball. I will not turn this post into a full canning tutorial. If you have never canned before, it is easy but must be done correctly or someone can die. (Was that dramatic enough to make the point?)
First I sterilized my jars. I did that by running them through the dishwasher while the strawberry jam was cooking down. I took the hot jars from my dishwasher to be filled one at a time as needed. More traditionally you boil the jars in your canner while the jam is cooking. The key here is the jars need to be clean and very hot.
While the jam is cooking and the jars are heating I put the lids into a small pan to scald. Scalding is basically heating the lids up so that the seal (that orange band around the edge) gets soft in preparation for sticking to the top of the glass jars. Do not boil the lids, just simmer them a bit.
 |
| Lids scaled and ready to go |
 |
| First jar filled |
 |
| Lid goes on |
Before the lids go on the jar, you need to wipe the rim of the jar clean to make sure there is no jam coming between the lid and the jar which can cause the seal to fail. The lids are hot so I just this handy dandy little plastic wand with a magnet at the end called cleverly enough a lid lifter to take the hot lids out of the hot water and place them on the jar. Once the lids are in place I add the screw band just finger tight. Do try to crush the lid on with the band that will cause the seal between the lid and the jar to fail.
 |
| Into the boiling water bath canner |
 |
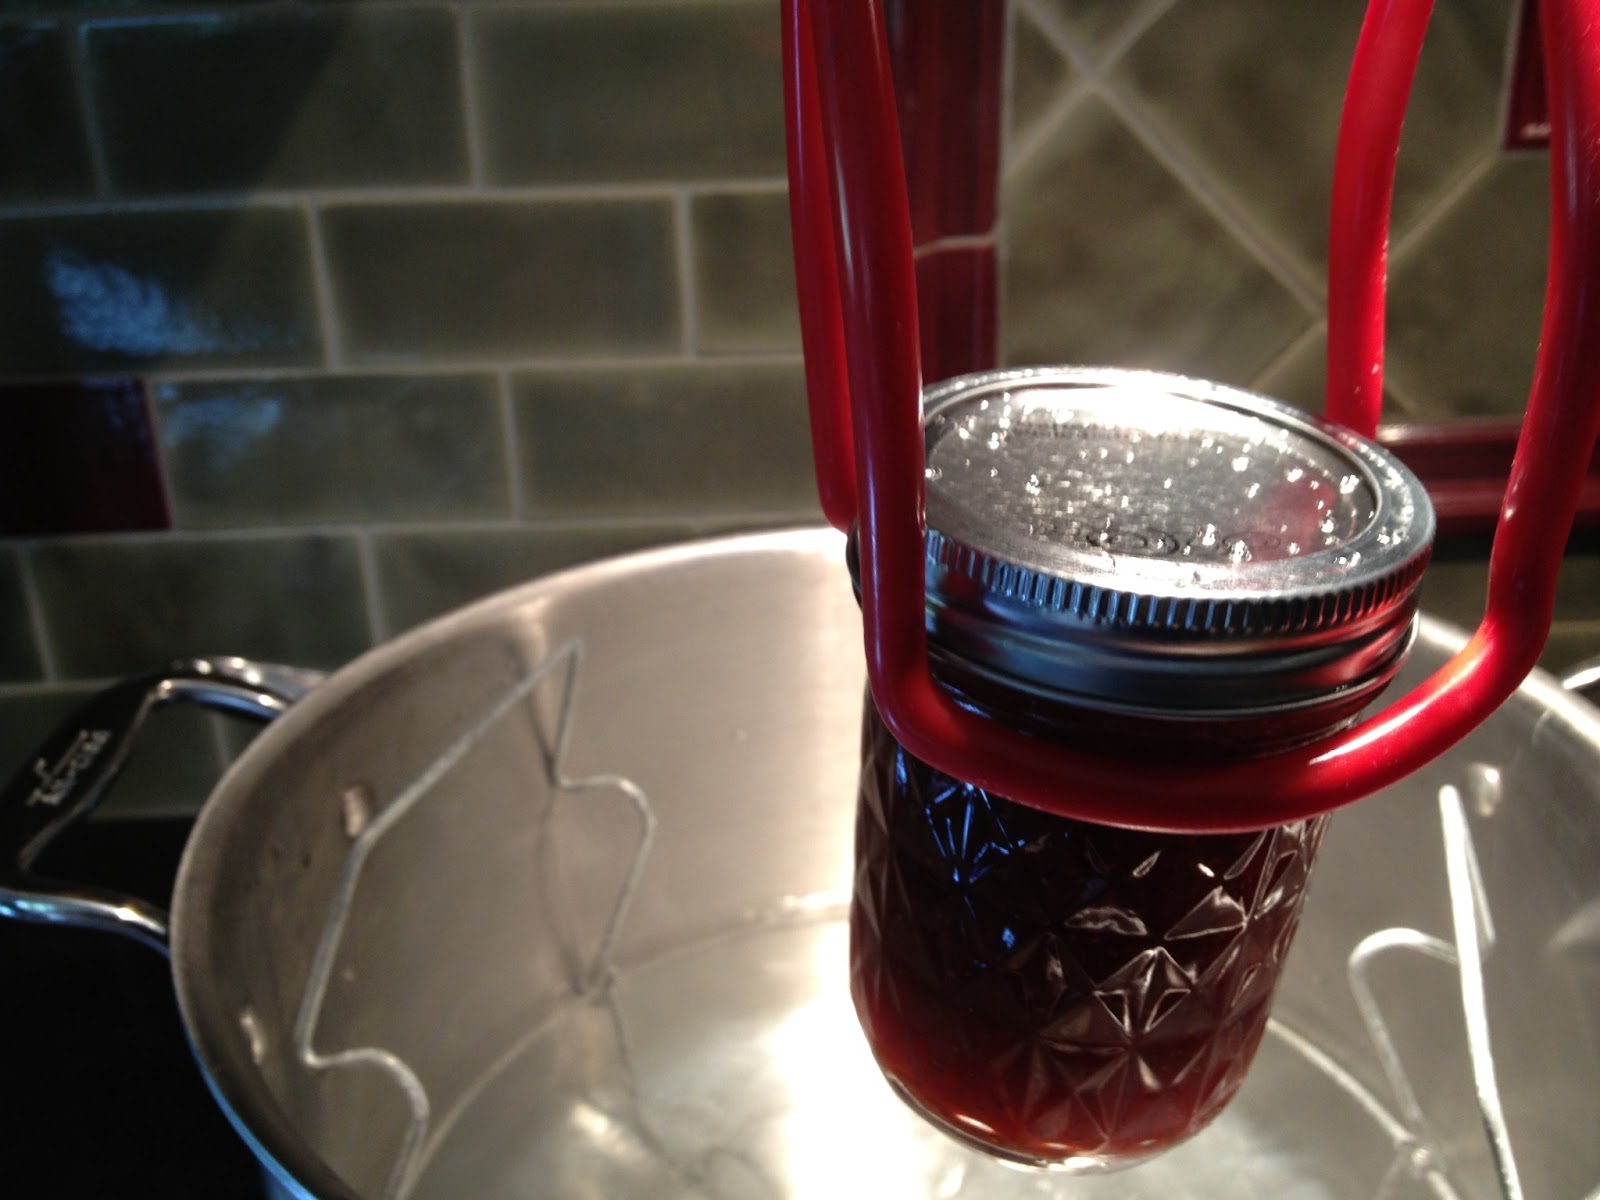
| Jars ready to process |
After ten minutes is over, remove the lid, turn off the heat and set the timer for another five minutes. When the five minutes is over, remove the jars with the can lifter. Do not tip the jars or even dry them off. Just set them on a towel or a trivet in a corner of your kitchen where they will not be disturbed. Cover the jars with a towel to keep a draft off of them while they cool. Leave them alone to cool over night (or at least 5 or 6 hours). The jars will make a popping sound as they cool. That is normal. Once cooled, check to make sure each jar sealed properly. The lid will be indented into the jar because a vacuum seal has been made. You should be able to get the screw band off with your fingers but should not be able to pry off the lid with your fingers. If you can get the lid off with your fingers, the jar did not seal properly and either needs to be reprocessed with a new lid, or it can just be put into the refrigerator and used. After the jars are completely cooled, I write the date on the lid and put into storage for another day.
Strawberry jam is very easy to make even though it takes some time. But the time is worth it!
Don't forget to follow me on Facebook and Pinterest.
Shared with:
Clever Chicks Blog Hop
Homestead Barn Hop
More the Merrier Monday
Sunny Simple Life
Tuesdays with a Twist
Wildcrafting Wednesdays
Wow Us Wednesdays
Frugally Sustainable
Home and Garden Thursday
Thursdays at the Homestead
Freedom Fridays
From the Farm Blog Hop
A Peek Into My Paradise
Homemade strawberry jam is the best, and it's even better if it's made with homegrown strawberries. Hope you have a wonderful day.
ReplyDeleteHeidi’s Wanderings
Oh, this looks wonderful! Thanks for sharing, especially all the great pictures...it makes me sooo hungry for strawberries!
ReplyDeleteYum, looks delicious!
ReplyDeleteLOVE homemade Jam! I made this with my mom and sister then came home and made a bunch for us!
ReplyDeleteThanks for sharing at Tuesdays with a Twist!
Hope to see you again this week.
http://back2basichealth.blogspot.com/2013/07/tuesdays-with-twist-15.html
Now those strawberry rocks are a cool idea - love strawberry jam - lovely post! I am so delighted that you shared with Home and Garden Thursday,
ReplyDeleteKathy